 Step settings

This panel is used to list and manage all the steps of the project which are used by the pipeline, production tracking and planning.
Steps can also be directly created, edited and removed from the pipeline editor.
List

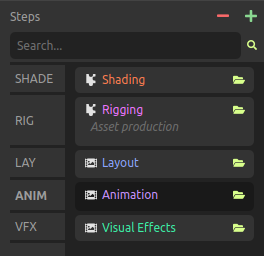
The list on the left lists all the steps of the project, and you can use the Search field to filter them by name or ID.
When changing the size of the rows in the list, more details about each step can be displayed. The folder button on the top right corner for each user in the list opens the user folder in your file explorer.
Use the button to create a new step (either completely new or using a template). The
button removes the selected steps from the project1.
You can use the [Shift + A] shortcut key to quickly add new steps.
You can use the [DEL] or [Shift + X] shortcut key to quickly remove selected steps.
You can scroll all lists using [Middle click] as well as the [Mouse wheel].
Steps can be re-order by dragging their ID in the column header of the list.
Hint
Ramses comes with a set of template steps, but they can be completely adjusted to any production needs; for example, if you consider Character Desgin to be a pre-production step instead of an asset production step, it’s up to you to customize the templates.
The list of template steps is available and can be managed in the administration panel by administrator users.
Edition

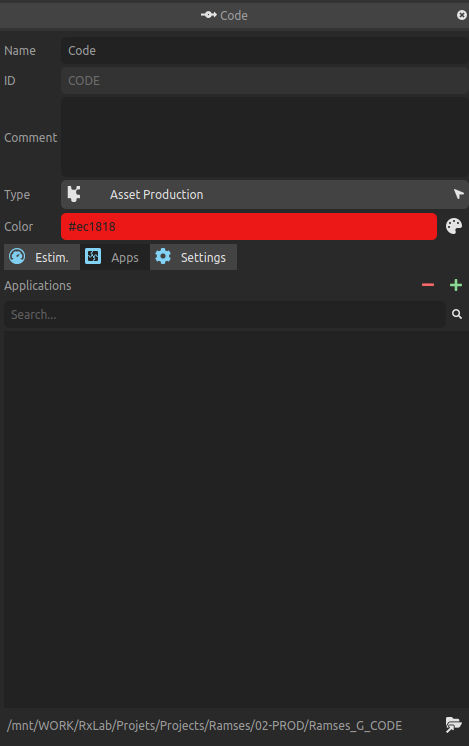
- Name is the step’s display name.
- ID is the unique identifier which is used in the files and folders (see the Ramses Tree section). It can’t be changed after the step has been created. Read the Ramses naming conventions to learn how IDs and names have to be formatted.
- Comment can be any text associated to the step and describing it. It can be formatted, using the Markdown syntax.
- Use the Type list to set the type of the step. Read this for more information about step types.
- The color is used to display the steps in the user interface and easily differenciate them in lists and the schedule.
- Input a custom hexadecimal color code in the field.
- Click the
button to use a nice color selector.
There are a few tabs for other details:
- Applications can be assigned to each step; this information is used by the pipeline tools for automations and to open files.
- The
button contains a list of available applications, and an entry to quickly create a new application without having to switch to the applications tab.
- The
button unassigns the selected appplications from the project but does not remove them from Ramses. You can also use the
[DEL]key.
- The

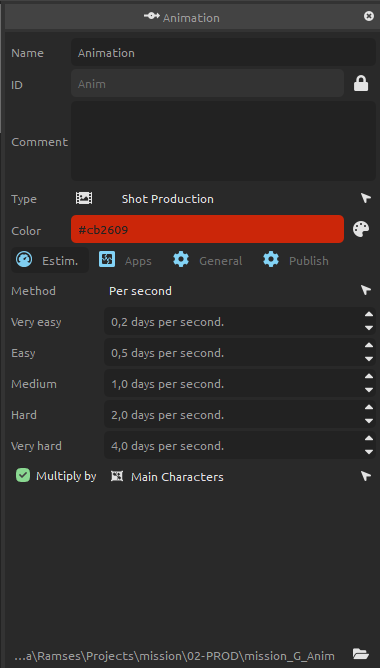
- You can set the default estimation for the step. Read the section about Production Planning for more information.
- For Shot Production steps, you can select if the estimation has to be evaluated per shot (for a lighting step where the quantity of work does not depend on the duration of the shot for example) or on the duration, per second (better for the animation step for example).
- You can set a different default estimation for shots or assets depending on the difficulty. Estimation is made in days.
- For Shot Production steps, you can select an asset group to multiply the estimation by the number of corresponding assets in the shot. For example, you can multiply the estimation of the animation by the number of characters in the shot.

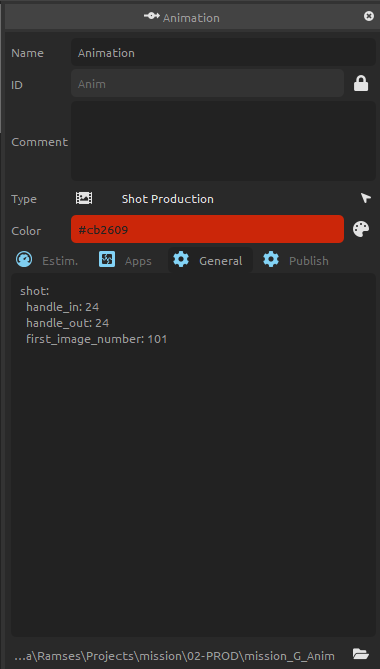
- Use the several Settings tabs to add some custom settings which can be used by Ramses add-ons to automate the pipeline. Using the official Ramses Add-ons, these settings should be formatted using the Yaml syntax. Read the Add-ons section for more information about the settings you can use.
Finally, the button opens the step folder in your file explorer. This folder contains the step common files, especially the templates, but not the working files which are stored within their assets and shots.
Tip
To change the ID of the step, you’ll need to create a new one with the new ID and remove the old one; it may be safe to do so at the beginning of a project, but existing data (if any) can’t be transfered to the new step, be careful!
▹ More details about Steps and Ramses.
▹ More details about estimations and planning.
-
The data is not actually deleted from the server nor the local data, but just flagged as removed. A server administrator can still restore the data at any time, but there is no way (yet) to do that from the user interface of the application. ↩